Docker部署netcore网站,并使用Docker nginx 作为正向代理;创建测试项目后,修改网站监听端口,具体设置方式请查阅另一篇博文《Ubuntu部署Asp.net core网站无法访问》上传publish文件到Linux,创建文件Dockerfile...
Docker部署netcore网站,并使用Docker nginx 作为正向代理;
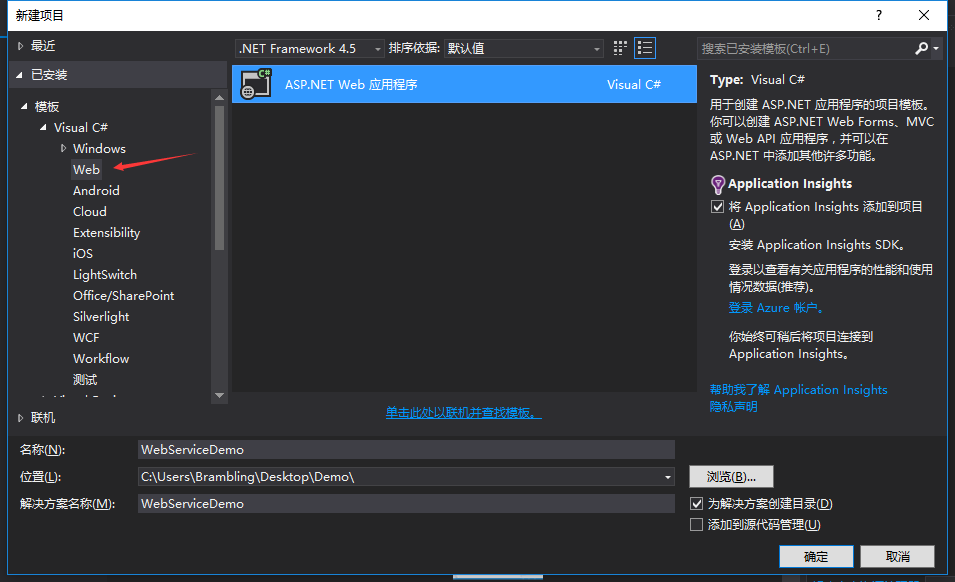
创建测试项目后,修改网站监听端口,具体设置方式请查阅另一篇博文《Ubuntu部署Asp.net core网站无法访问》
上传publish文件到Linux,创建文件Dockerfile,编辑内容为:
FROM mcr.microsoft.com/dotnet/core/aspnet //从该镜像拉取
WORKDIR /app  //工作目录
COPY . .
EXPOSE 80 //容器对外开放端口
CMD ["dotnet", "website.dll"] //执行命令
把网站打包成镜像
docker build -t website .
创建并运行容器
docker run --name website -p 8080:80 -d website
至此,网站已成功发布。使用ip:port即可访问网站。
接下来使用docker拉取nginx
docker pull nginx
在创建nginx容器前先创建好挂载目录
cd var
mkdir nginx
cd nginx
mkdir www conf logs
进入conf文件夹,创建并编辑nginx.conf配置文件
cd conf
vim nginx.conf
nginx.conf文件内容
user nginx;
# 运行用户,默认是nginx
worker_processes auto;
# nginx进程数,一般设置为和cpu核数一样
error_log /var/log/nginx/error.log;
# 全局错误日志路径
pid /run/nginx.pid;
# 进程pid路径
# Load dynamic modules. See /usr/share/nginx/README.dynamic.
# 负载动态模块
include /usr/share/nginx/modules/*.conf;

events {
# 工作模式与连接数上限
    worker_connections 1024;
   # 单个进程的最大连接数
}

http {
# 设置http服务器
    log_format  main  '$http_host $server_addr $remote_addr [$time_local] "$request" $status  $request_body  $body_bytes_sent "$http_referer" "$http_user_agent" $request_time $upstream_response_time';
    # 设置日志的格式

    access_log  /var/log/nginx/access.log  main;
    # 访问日志的路径

    sendfile            on;
    # 开启高效传输模式
    tcp_nopush          on;
    # 激活tcp_nopush参数可以允许把http response header和文件的开始放在一个文件里发布,作用是减少网络报文段的数量
    tcp_nodelay         on;
    # 激活tcp_nodelay,内核会等待将更多的字节组成一个数据包,从而提高I/O性能
    keepalive_timeout   65;
    # 长连接超时时间,单位是秒
    types_hash_max_size 2048;
    # 为了快速处理静态数据集,例如服务器名称, 映射指令的值,MIME类型,请求头字符串的名称,nginx使用哈希表

    include             /etc/nginx/mime.types;
    # 文件扩展名与类型映射表
    default_type        application/octet-stream;
    # 默认文件类型

    # Load modular configuration files from the /etc/nginx/conf.d directory.
    # 加载模块化配置文件
    # See http://nginx.org/en/docs/ngx_core_module.html#include
    # for more information.
    include /etc/nginx/conf.d/*.conf;

    server {
    # 基于域名的虚拟主机
        listen       80 default_server;
        # 监听端口
        listen       [::]:80 default_server;
        server_name  _;
        # 域名
        #root         /usr/share/nginx/html;
        # 站点根目录,即网站程序存放目录

        # Load configuration files for the default server block.
        # 默认服务器块的加载配置文件
        include /etc/nginx/default.d/*.conf;

        location / {
            proxy_pass http://ip:8080;
        }

        error_page 404 /404.html;
            location = /40x.html {
        }

        error_page 500 502 503 504 /50x.html;
            location = /50x.html {
        }
    }
}
创建并运行容器
docker run -d -p 80:80 --name blog -v $PWD/www:/usr/share/nginx/html -v $PWD/conf/nginx.conf:/etc/nginx/nginx.conf -v $PWD/logs:/var/log/nginx nginx
Nginx部署完成,此刻直接输入ip可直接访问网站。
沃梦达教程
本文标题为:Ubuntu部署netcore网站


猜你喜欢
- Oracle中for循环的使用方法 2023-07-04
- Unity3D实现渐变颜色效果 2023-01-16
- c# 模拟线性回归的示例 2023-03-14
- 如何使用C# 捕获进程输出 2023-03-10
- user32.dll 函数说明小结 2022-12-26
- C# 使用Aspose.Cells 导出Excel的步骤及问题记录 2023-05-16
- 在C# 8中如何使用默认接口方法详解 2023-03-29
- Unity Shader实现模糊效果 2023-04-27
- .NET CORE DI 依赖注入 2023-09-27
- WPF使用DrawingContext实现绘制刻度条 2023-07-04


