本篇博客为构筑LAMP架构第一步,安装apache实验环境:redhat6.5实验目的:安装apache准备材料:redhat6.5系统 apache安装包实验步骤:输入tar xzvf http-2.4.2.tar.gz -C /opttar xzvf apr-1.4.6.tar.gz -C /opt t...
 本篇博客为构筑LAMP架构第一步,安装apache
实验环境:redhat6.5
实验目的:安装apache
准备材料:redhat6.5系统 apache安装包
实验步骤:
输入tar xzvf http-2.4.2.tar.gz -C /opt
tar xzvf apr-1.4.6.tar.gz -C /opt
tar xzvf apr-util-1.4.1.tar.gz -C /opt
依次安装
输入cp -R apr-1.4.6/ /opt/httpd-2.4.2/srclib/apr
cp -R apr-util-1.4.1/ /opt/httpd-2.4.2/srclib/apr-util
将两个apr包复制进httpd中
输入yum install gcc gcc-c++ make pcre pcre-devel -y
yum安装前置包
输入cd /opt/httpd-2.4.2 进入目录
再输入
./configure \
--prefix=/usr/local/apache \
--enable-so \
--enable-rewrite \
--enable-mods-shared=most \
--with-mpm=worker \
--disable-cgid \
--disable-cgi
运行 运行完毕如下图
接下来输入 make & make install 进行安装
安装完成如下图
输入grep -v "#" /usr/local/apache/bin/apachectl > /etc/init.d/httpd
并vi /etc/init.d/httpd 进行编辑
在文件最前面插入下面的行
#!/bin/sh
chkconfig:2345 85 15
# description:Apache is a World Wide Web server.
依次输入
chmod +x /etc/init.d/httpd 给予运行权限
chkconfig --add httpd
chkconfig --list httpd
chkconfig --level 35 httpd on 自启动
ln -s /usr/local/apache/conf/httpd.conf /etc/httpd.conf 建立软连接便于管理
vi /etc/httpd.conf 进行编辑 监听本机的80端口
 更改主机名
更改主机名
关掉防火墙,并重启httpd服务
通过另一台机器访问本机IP,当显示 It works! 时 则代表apache安装成功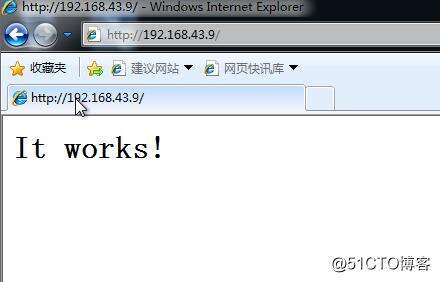
原文:http://blog.51cto.com/13625924/2118521
本文标题为:LAMP架构(1)-安装apache


- 利用Docker 运行 python 简单程序 2022-10-16
- nginx中封禁ip和允许内网ip访问的实现示例 2022-09-23
- CentOS7安装GlusterFS集群的全过程 2022-10-10
- KVM虚拟化Linux Bridge环境部署的方法步骤 2023-07-11
- CentOS_mini下安装docker 之 安装docker CE 2023-09-23
- 阿里云ECS排查CPU数据分析 2022-10-06
- 【转载】CentOS安装Tomcat 2023-09-24
- 解决:apache24 安装后闪退和配置端口映射和连接超时设置 2023-09-11
- IIS搭建ftp服务器的详细教程 2022-11-15
- 教你在docker 中搭建 PHP8 + Apache 环境的过程 2022-10-06